Home >> News
How to Repair a Waterfall Faucet

How to Repair a Waterfall Faucet
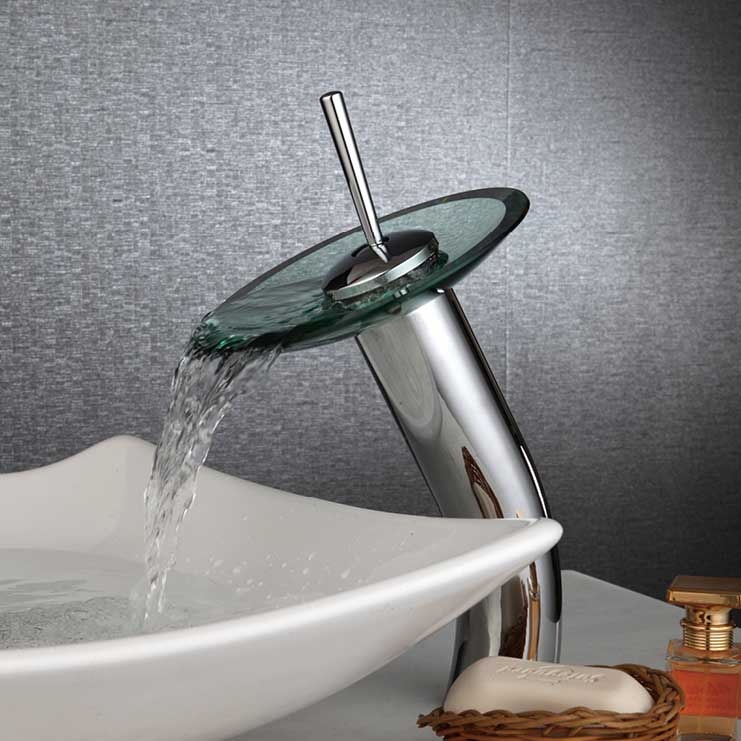
A waterfall faucet is one of the common of plumbing fixtures in residential spaces. Waterfall faucets of all types have a similar design
where the spout leads to a rounded or oblong, disc-like structure. As a result, the water flowing from the spout is directed along the
disc from where it drips in a waterfall-like manner. The spouts are modified to control the flow of water in a more precise manner and
divide the water equally, along either sides of the sink. Waterfall faucets are used in sinks of bathrooms and kitchens. These are
durable plumbing structures. However, due to neglectful handling and use overtime, they can develop problems such as leaks.
Waterfall faucets can be easily repaired with some basic supplies and the following guidelines.
Step 1 — Dissembling Faucet Handle
Turn off the water supply to the sink. The main water supply valves are usually located under the sink. If you cannot locate them, turn off the water supply to the house. Unlike conventional faucets, waterfall faucets usually don’t have a big faucet cap upon the handle. The handle cover is shaped like a thin plate that is a bit tedious to displace. Use a small knife to pry open the cover plate.
To access the inner components of the faucet, you have to unscrew the handle attachment. Locate the screws securing the handle. Waterfall faucet handles are often secured with durable fittings like an Allen nut. This can be easily undone with a wrench. However, if there are standard nuts holding the handle, unscrew them using a screwdriver.
Step 2 — Unfastening Faucet Stem, O-ring & Seat Washers
In waterfall faucets, most of the vulnerable parts are located within the faucet stem. Replacing the stem is the surest way to repair the faucet. Use a wrench to unfasten the packing nut that secures the faucet stem. Pull out the stem by dabbing repeatedly on the body of the faucet but don’t use hard objects for this. Fitting of the stem cartridge is dependent upon the seat washers that have a disc-like shape with a big hole in the center.
Washers also get loosened due to repeated usage. Use the tip of the screwdriver to remove the old seat washers. The stem gives way to the underlying body of the faucet that contains the o-ring. This component, when damaged, is one of the most common causes of leaky faucets. Decoding the damage in an o-ring is a bit difficult, i.e. it is better to replace it.
Step 3 — Procuring Replacement Waterfall Faucet Parts
It is better that you carry the old faucet stem cartridge to a hardware supply store. This makes it easier to procure an exact match. Also, buy a couple of matching seat washers and an o-ring.
Step 4 — Replacing Waterfall Faucet Parts
You need to start the replacement in the reverse order, starting by replacing the o-ring. You don’t need a tool for this—simply force it upon its original site. Continue by inserting the faucet stem and placing the seat washers. If the seat washers seem a bit loose, tighten them using plumbing thread. Secure the packing nut of the stem and proceed by fastening the handle and the handle cap.
Products


